Docker Compose, a utility for defining and managing multi-container applications, plays a key role in our process. It is the key to unlocking a streamlined and efficient development and deployment experience. We need to create the WordPress app to create the RESUME we plan to host in S3. WordPress is an open-source content management system (CMS). Composed of Apache, PHP, and a relational database (MariaDB, MySQL), it’s a popular tool for individuals without any coding experience who want to build websites and blogs. The software doesn’t cost anything. Anyone can install, use, and modify it for free. Yes, WordPress can run on a single container, but this deployment composition will give us more practice with multi-container scenarios.
Shortcut: get WordPress build spec YAML file for Docker Compose [here]
Before we jump into breaking down the Docker Compose file let’s quickly cover environment variables. A dotenv file, also known as an environment file, is a text file that stores key-value pairs of environment variables. The format of a dotenv file is based on bash files that export environment variables. In Docker Compose, an .env file is used to define environment variables that should be available to Docker containers when running docker compose up. The docker-compose.yml file recognizes and looks for items formatted with special characters ${}, and resolves them to the value in the dotenv file:
Ok, let’s analyze the Compose file, which simplifies the control of the entire application stack, making it easy to manage services, networks, and volumes in a single, comprehensible YAML configuration file.
* WordPress requires Apache and an RDS, but the PHP Admin is optional.
VOLUMES
...continued...
volumes:
  wordpress:
  dbdata:
Docker volumes are a way to store data that persists outside of the container. This is useful for data that you want to keep even after the container is stopped or deleted. Volumes can be used to store data such as databases, configuration files, and application logs.
Notice the external assignment on the LAN network and the bridge on WP-net. The reason for this is to segment network traffic between containers, as well as expose specific containers to the physical local area network, on an a dedicated IPv4 address. First, bridge networks are virtual switches, internal to the docker host and fully managed by the host. Basically, it allows docker to create a plethora of switches and plug any mixture of containers into them. Second, external networks become useful when you aim to connect containers not defined within the same Docker-Compose file. By designating a network as external, Docker Compose won’t attempt to create a network but will instead utilize the existing one. Where did the LAN network come from, you ask?
Docker can bind to a physical network interface, allowing containers to dynamically or statically be assigned unique IP addresses in the external subnet, thus routing like a physically attached network device and able to register a DNS name. Furthermore, the range=10.10.0.64/27 restricts the address space that the Docker host will assign the next available IP, if not statically assigned in Docker Compose.
Enough on macvlan though, let’s traverse back to that WordPress server and a RESUME website to drop into S3.
tallgray1@docker-1:/mnt/IT$ docker ps | grep wp
2907ec450f89 phpmyadmin/phpmyadmin "/docker-entrypoint.…" 35 hours ago Up 35 hours 0.0.0.0:8081->80/tcp, :::8081->80/tcp wp-phpmyadmin <-----
365a5c02654b wordpress:6.4.2-apache "docker-entrypoint.s…" 35 hours ago Up 34 hours wp-wordpress <-----
83ec5c59ab14 mysql:8.3.0 "docker-entrypoint.s…" 35 hours ago Up 35 hours 0.0.0.0:3306->3306/tcp, :::3306->3306/tcp, 33060/tcp wp-db <-----
Assuming your docker ps | grep wp output looks similar to the above, your wp-wordpress container is up and listening on whichever IP was assigned/designated via the docker compose process. If you’re lost and the status of your apparatus is not copasetic, use docker network inspect LAN and docker logs wp-wordpress, docker logs wp-db to help work through your issue.
Assuming things are working as expected, login to your WordPress site by typing in the IP for your server and add /wp-admin/ to the end. For example, the login URL for our test site would be http://10.10.0.64/wp-admin/. You should then walk through the following series:
If you’ve made it this far, CONGRATULATIONS! Let’s continue by adding some WordPress plugins and buy a template that we would like to model our RESUME presentation.
There’s a bajillion plugins out there, but we’re going to select just two:
Elementor
Simply Static
You can add new plugins by locating:
*this will display a catalog, use the Keyword `Search plugins…` typing in the plugin names 1. and 2.
WordPress Theme Selection
When it comes to selecting a template theme for your RESUME website, options abound. I chose this [one]. Perform your own web search, but I recommend specifically looking for one that indicates it is a “WordPress theme“. When you do, the theme provider will typically provide [documentation] guidance for installing and updating it. I linked the documentation that came with mine, as an example. Following the provider instructions will allow you to finalize the custom static RESUME website, and once you are satisfied with it, it’s almost time to debut it to the world!
In order to publish it, we’ll need to export the static website. This is where the plugin “Simply Static” comes in.
Locate the plugin on the WordPress dashboard and select Generate.
View the Activity Log and select ‘Click here to download’.
This will produce a .zip file, which you will then need to decompress. That’s it! Our static resume website is ready to publish. Let’s move on to creating the S3 Buckets where soon, we’ll drop our website.
Step 2. Create S3 Bucket with CloudFormation
For those that started reading, then decided LT;DR, and jumped to this section – the moment has arrived. It’s time to make CloudFormation work, so go ahead, copy-n-paste the code below. For those that are still reading, let’s review why we’re taking the Infrastructure-as-Code approach in the first place. Well, it provides several advantages:
repeatability
troubleshooting
disaster recovery
auditability
portability
In short, CloudFormation facilitates making changes without fear of irreparable damage, offering transparency into environment history and easy rollbacks.
AWSTemplateFormatVersion: '2010-09-09'

## =================== DESCRIPTION =================== ##
Description: >-
  AWS CloudFormation template
  Create an S3 bucket for your root domain and subdomain (optional)

## =================== PARAMETERS =================== #
Parameters:
  paramDomain:
    Description: Enter the FQDN for the public website
    Type: String
    Default: tallgray.info

  paramSubdomain:
    Description: OPTIONAL- Specify a subdomain (ex. 'www' or 'apex' for www.example.com or apex.example.com).
    Type: String
    Default: www

## =================== CONDITIONS =================== ##
Conditions:
  # HasSubdomainName is false if paramSubdomain value is empty
  HasSubdomainName: !Not [!Equals [!Ref paramSubdomain, '']]

## =================== RESOURCES =================== ##
Resources:
  # ----------------  Step 1 ----------------
  # a) create a new S3 bucket and configure it to host a static website:
  myS3BucketForRootDomain:
    Type: 'AWS::S3::Bucket'
    DeletionPolicy: Retain # keep S3 bucket when its stack is deleted
    Properties:
      BucketName: !Ref paramDomain # use the paramDomain reference of your domain
      WebsiteConfiguration:
        IndexDocument: index.html
        ErrorDocument: error.html
      VersioningConfiguration: # turn versioning on in case we need to rollback newly built files to older version
        Status: Enabled
      # AccessControl: PublicRead # throws an error: Bucket cannot have public ACLs set with BlockPublicAccess enabled
      OwnershipControls:
        Rules:
          - ObjectOwnership: ObjectWriter
      PublicAccessBlockConfiguration:
        BlockPublicAcls: false
        BlockPublicPolicy: false
        IgnorePublicAcls: false
        RestrictPublicBuckets: false

  # b) create the second S3 bucket to redirect the traffic to the first bucket:
  myS3BucketForSubdomain:
    Condition: HasSubdomainName # condition function to provision second (subdomain) bucket only if a subdomain was specified as a parameter
    Type: 'AWS::S3::Bucket'
    DeletionPolicy: Retain # keep S3 bucket when its stack is deleted
    Properties:
      BucketName:  !Join [ ".", [ !Ref paramSubdomain, !Ref paramDomain ]] # use the name of paramSubdomain with paramDomain
      WebsiteConfiguration:
        RedirectAllRequestsTo: # Configure the bucket to route traffic to the S3 bucket for root domain
          HostName: !Ref myS3BucketForRootDomain
          Protocol: http
      AccessControl: BucketOwnerFullControl

  # c) create the policy to give public read access to S3 bucket objects:
  myPolicyForS3BucketForRootDomain:
    Type: 'AWS::S3::BucketPolicy'
    Properties:
      Bucket: !Ref myS3BucketForRootDomain
      PolicyDocument:
        Version: 2012-10-17
        Statement:
          - Sid: PublicReadForGetBucketObjects
            Effect: Allow
            Principal: '*'
            Action: 's3:GetObject'
            Resource: !Sub "${myS3BucketForRootDomain.Arn}/*"

## =================== OUTPUTS =================== ##
Outputs:
  outputS3WebsiteURLForRootDomain:
    Description: Amazon S3 website endpoint for root domain
    Value: !GetAtt myS3BucketForRootDomain.WebsiteURL
  outputS3WebsiteURLForSubomain:
    Condition: HasSubdomainName
    Description: Amazon S3 website endpoint for subdomain
    Value: !GetAtt myS3BucketForSubdomain.WebsiteURL
What's This & How Does It Work?
Starting from the basics of CloudFormation templates and building up, we should understand basic terminology.
CloudFormation: a service that helps you model and set up your AWS resources. You create a template that describes all the AWS resources that you want (like EC2 instances or RDS DB instances), and AWS CloudFormation takes care of provisioning and configuring those resources for you.
Template: a JSON or YAML formatted text file. AWS CloudFormation uses these templates as blueprints for building your AWS resources.
Stacks: an end product declarative model that instantiates all specified resources in AWS. You create, update, and delete a collection or of resources by creating, updating, and deleting stacks.
Template Anatomy
Intrinsic Functions
They’re built-in functions that can help you manage your stacks.
Fn::Ref – dynamically generated values, only available at run time. Notice the use of `!Ref` in our YAML stack template and how they refer to a serviceID created within the same stack. Another way to use Ref is with Parameters. Notice how we used it to pass the `paramDomain` to define the resource `myS3BucketForRootDomain` attribute `BucketName`. A third way to use Ref is as a pseudo parameter, which are predefined by AWS CloudFormation. For example, if you need to get a region where your resources are being created, use `!Ref` AWS::Region`. Other pseudo parameters include: `!Ref AWS::AccountId, !Ref AWS::StackId, !Ref AWS::StackName, !Ref AWS::NoValue`.
Fn::Join – take a set of values and append it into a single value, separated by the specified delimiter.
Fn::Split – the opposite of Join, it splits a string into a list of string values.
Fn::GetAtt – returns the value of an attribute from a resource in the template.
Fn::Select – assume you want your users to select one item from a list of allowed values. For example, when creating EC2 instances as seen below.
Take It For A Spin
We are ready to create and run CloudFormation stack based on our template. You can run a stack using the AWS CLI [here is how], but I’m going to walk through running the stack from AWS Console to provide an end-to-end overview of a process flow.
1. Upload our template file to create a stack.
2. Specify stack details by naming it and assigning the parameter details.
3. Define what you want to happen if provisioning fails for any resource in your stack definition. This is important because if some resources succeed yet overall provisioning fails, you may be billed for the succeeded resources since they weren’t torn down.
4. Proceed with the remaining steps in the process, unless you find additional definitions you want to customize. Otherwise, we’re back to the CloudFormation > Stacks summary. We can see our stack completed successfully.
5. Click on the “Stack name” to inspect the: stack info, resources, events, outputs, parameters, template, and Git sync.
Remember "OUTPUTS"?
You may recall that our stack template contained a section labeled “OUTPUTS”. We did that to output the website URL, making it easier to navigate using the link once the stack is built. Under Outputs tab you can find the link to our website. Since we have not deployed static content to S3 bucket yet, clicking on it will display a 404 error.
3. Deploy Static WordPress Site Manually to Amazon S3
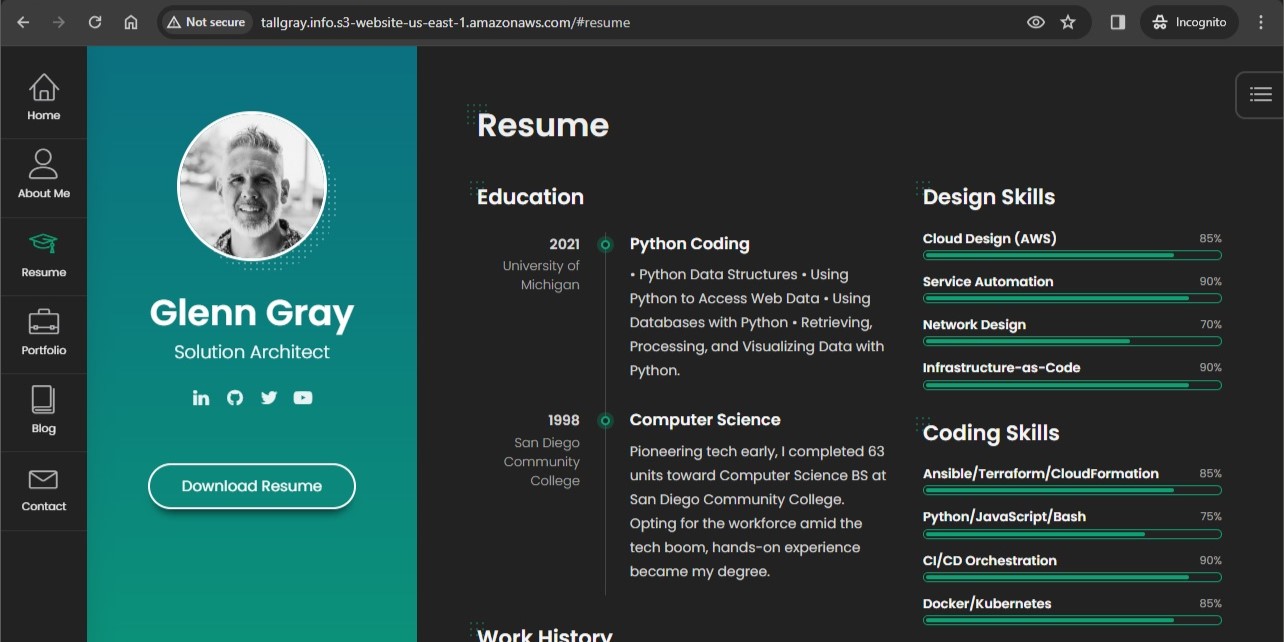
It’s a been a long journey, but we’re FINALLY ready to post our brilliant looking RESUME website. The only thing left is to:
open your AWS Console, navigate to Amazon S3 > Buckets
open the bucket you defined with `paramDomain`
open a file browser to the folder you downloaded and decompressed from Simply Static
select the Objects tab in your Amazon S3 Bucket, then Upload
drag and drop ALL folder contents (not the folder itself) into the bucket
Time to celebrate, WE’RE DONE! Refresh the public link that was produced by the CloudFormation output, and you should see your fabulous, static website.